Skip to content Skip to navigation
Pilastro della Tofana main.jpg
PILASTRO DELLA TOFANA

It was late September 1980, and I had a big headache. The day was perfect and the pillar shone in the early morning light. The clean air made it seem close, crisp, inviting. My old gray Beetle somehow made it to where the wheels couldn’t go any farther, and that’s where it remained. Mauro seemed to be in good shape, but I left part of the previous evening’s dinner on the ledge of the attack. The adventure begins.

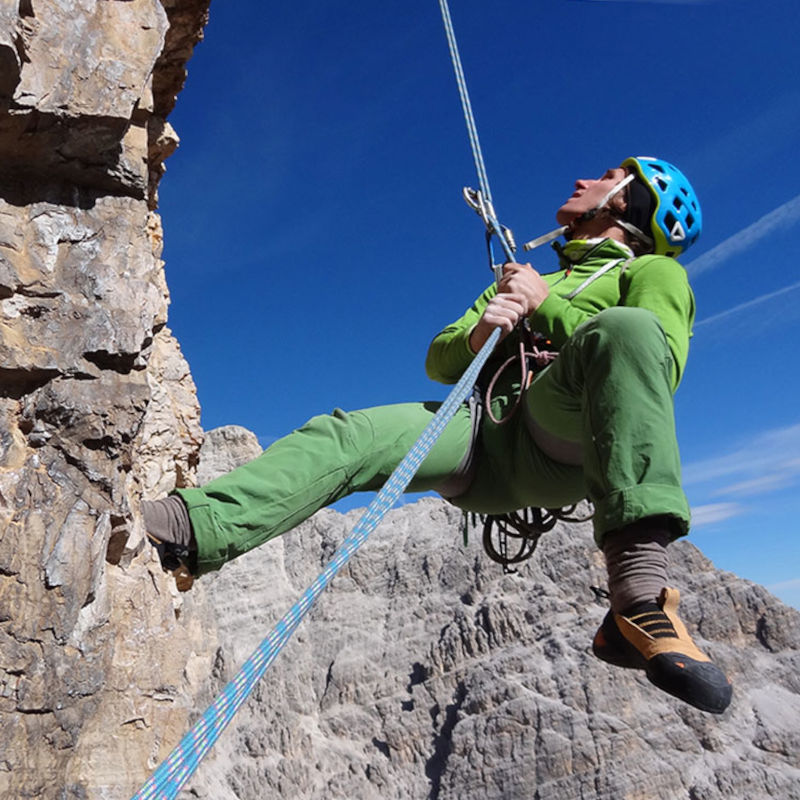
Less than a year ago we didn’t know what climbing meant, and now we were there. We touched grade 6 holds, and above us yellow overhangs . . . a dream. I climbed quickly, and the bulging biceps of Mauro, who followed me, seemed to indicate trust. Everything went smoothly until we were below the “Mule’s Back,” and we were proud of that, but we were much less proud the day after, when we descended to Rifugio Giussani cold and humiliated to beg for a bowl of soup. The mountain had once again taught us something, and I will always remember the night in a T-shirt on that freezing ledge. Now, though the pillar is still challenging, we free climb it in a few hours, and sometimes we descend from the second ledge if the Mule’s Back is wet, or even climb only the gray part on a warm August evening. The route has not changed, though; in fact, there were once more bolts. We are the ones who have changed. 


Pilastro della Tofana di Rozes, 2820 m

Southeast Face

Ettore Costantini and Renato Apollonio

July 13, 1944


Approach

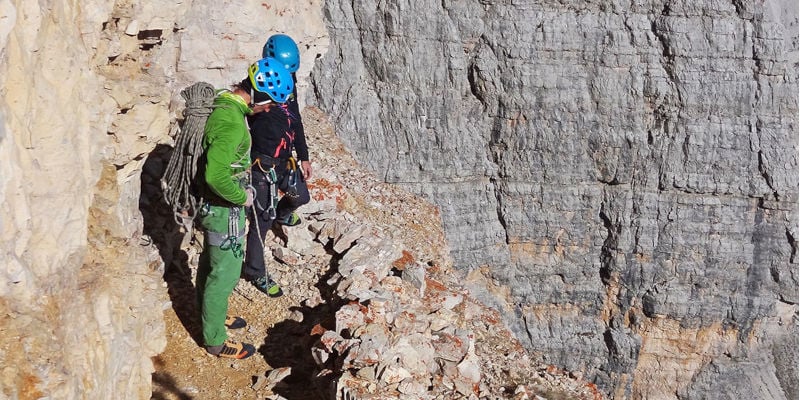
From Rifugio Dibona you arrive at the attack in half an hour. The pillar stands out in front, conspicuous, leaving no room for doubts. You reach the attack by taking a short ledge to the left, in the left sector of the wall, that takes you to the base of a small pillar about 40 meters high. Old bolts at the base of the dihedral indicate the beginning of the climb, which is very clear, as is the rest of the route.

1) Climb the dihedral almost to the top of the pillar. (35 m IV+/V-)

2) First climb up a few meters on slab and then traverse carefully toward the right on excellent rock up to a wide ledge at the base of a yellowish crack. You are now below the straight line of the entire climb. (30 m V+ and IV)

3) Climb up the crack, which in some places widens into a chimney. (60 m V and V+, often damp and therefore more difficult)

4) A short pitch takes you up almost under a small gray roof. (25 m IV)

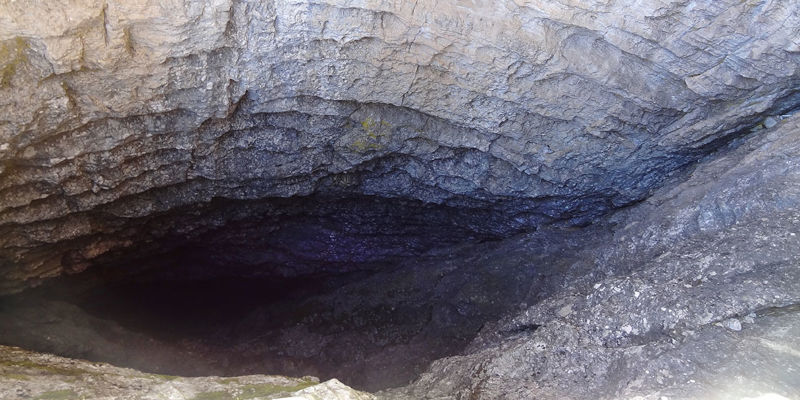
5) Overcome the roof and then, on easier rock, belay to the right of a deep and terrifying hole. (From here, by reaching the ledge below and following it toward the north, it is possible to exit the wall with two rappels.) (55 m VI then IV)

6) First climbing straight and then zigzagging a bit, you reach the belay under the first large roof. Now you’ve passed into the yellow zone. (40 m IV and V)

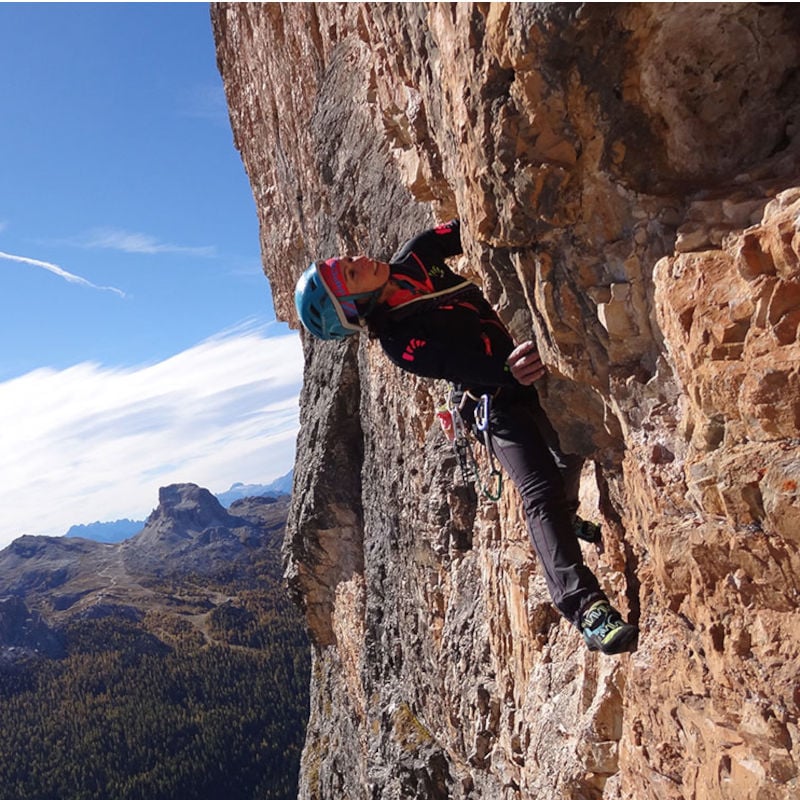
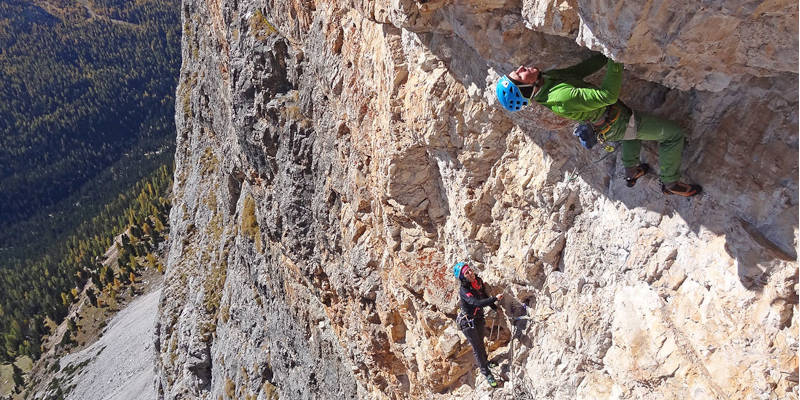
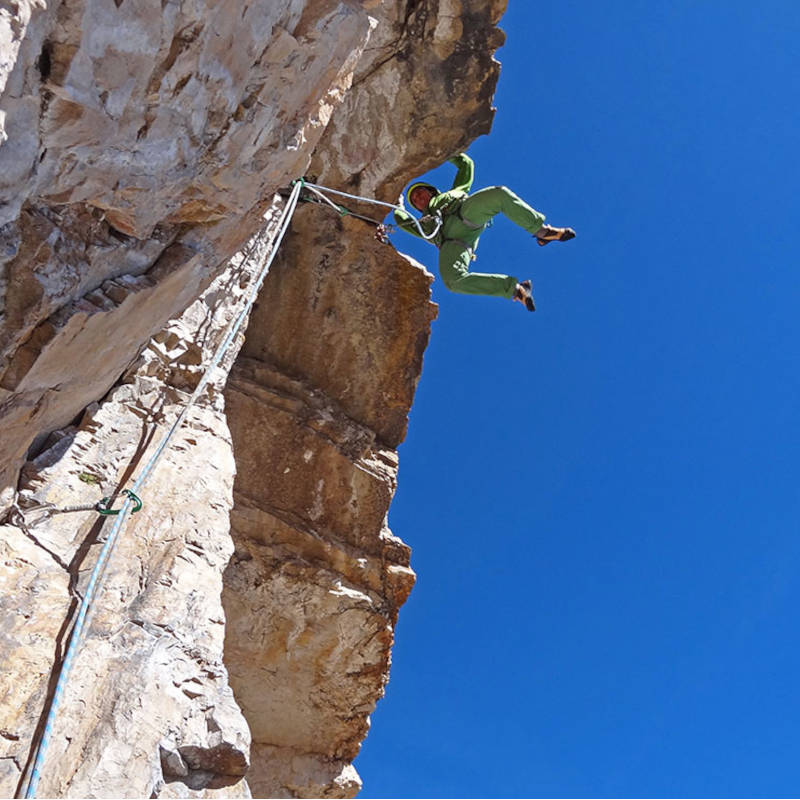
7) You climb the beautiful overhang directly with a strenuous layback and knee jam. (10 m 6b+ or A0/A1)

8) Always following the crack, move to the uncomfortable belay under the second roof, which protrudes less but is more difficult than the first. (40 m V and VI one sequence of 6a+)

9) An open and delicate small dihedral takes you under the roof, which you overcome directly with an unplanned and greasy sequence; then, via easy red rock, you reach the “five-star bivouac” under the “Mule’s Back.” (20 m 6b+ or VI A0)

10) Slip into the disgustingly muddy passageway and, as soon as possible, exit, doing the splits and with full exposure, to overcome what for me is the most challenging sequence of the entire climb. After overcoming this temperamental overhang, you reach an exposed ledge via easier rock, where you stop. (45 m V, V+, one sequence 6c or A0, then IV)

11) You easily reach a grassy ledge that forms a nice terrace, but you ignore it and continue to climb a dihedral. Exit on the left and stop. (65 m IV and V, one sequence of V+, possible intermediate belays)

12) Climb the dihedral/chimney above and then move slightly to the right, to then return to the left until a niche and some overhanging yellow areas invite you to escape the wall toward the left (40 m V and IV, hourglasses)

13) You traverse to the left easily on vertical yellow rock. When you reach the gray, you climb always toward the left and, consistent with the sliding of the ropes, move up onto very compact rock. (60 m IV and IV+)

14, 15 and 16) Now, via ramps and crumbling chimneys, following the logic, you exit the wall and reach the saddle to the left of the large pillar. Be careful of the stones. (150 m II and III).


Descent

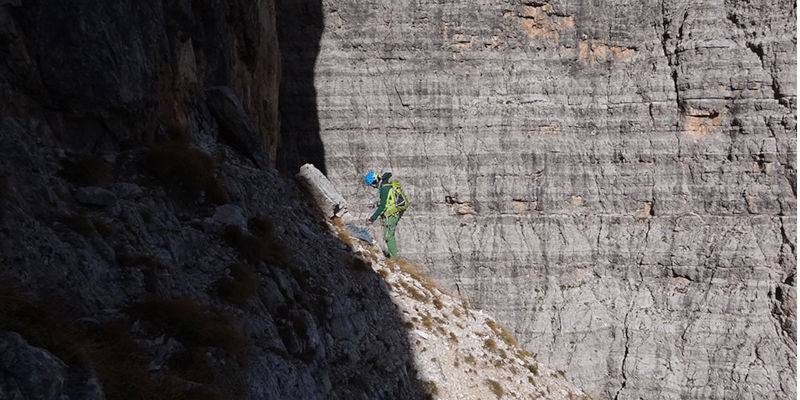
From the route exit, you descend by beginning a long traverse to the left (north), following the cairns. Do not follow the trail too low; aim for a ledge that, going around the wall to the right via an old and obvious war trail, soon leads to Rifugio Giussani and then easily to the parking lot of Rifugio Dibona.

MANRICO DELL'AGNOLA

Pilastro della Tofana mosaico 2.jpg
Pilastro della Tofana mosaico wide1.jpg
Pilastro della Tofana mosaico 3.jpg
Pilastro della Tofana mosaico wide 6.jpg
Pilastro della Tofana mosaico 4.jpg
Pilastro della Tofana mosaico 5.jpg
You can compare a maximum of 5 items at once. Please Remove at least one product before adding a new one.